
耳边酥麻,融化全身:极致双耳舔舐快感
【両耳舐め超絶特化/生耳舐め】みみとろ。~耳もあそこもとろけちゃうような極上の快楽。~【総再生時間1時間30分越え!】
关于本作品
沉浸在一个半小时纯粹、未受污染的极乐之中,体验《融化双耳及一切:极致双耳舔舐之乐》。这段R-18 ASMR体验经过精心打造,*超级*专注于将极致、私密的双耳舔舐直接送达您的双耳。采用高精度双耳录音技术,您将感受到每一次湿润、温暖的触感,每一次轻柔的舔舐,以及每一声温柔的呼吸,仿佛就在耳畔,营造出身临其境、几近真实的沉浸式体验。但愉悦不止于双耳;准备好迎接一股感官上的强烈浪潮,旨在让您的全身,乃至“其他一切”,彻底融化,进入极致的狂喜状态。完美适合寻求深度放松、极致亲密以及极度诱惑ASMR体验的听众。
Editor's Review
Wow. Just... wow. "Melt Your Ears & Everything Else" isn't just a title, it's a promise delivered with breathtaking precision. From the moment the intense dual ear licking began, I was utterly gone. The binaural audio is absolutely masterful; every wet, warm sensation, every delicate lick, and those soft, intimate breaths felt so incredibly *real*, as if the performer was truly right there, whispering sweet nothings directly into my eardrums. The immersion here is next-level, creating a tangible sense of presence that few ASMR tracks achieve. The voice acting is so incredibly intimate and specialized, it truly makes you feel cherished and deeply affected. It's not just your ears that tingle; the cascade of sensational arousal promises to make "everything else" melt, and believe me, it delivers. If you're seeking profoundly intimate, intensely arousing ASMR with unparalleled vocal artistry that specializes in a complete surrender, this is an absolute must-listen. Prepare to lose yourself completely!
您会喜欢的理由
- ✓超过90分钟的极致私密舔耳ASMR。
- ✓极致沉浸式的双耳音效,带来触手可及的真实体验。
- ✓旨在以极致愉悦撩拨并融化您的全身。
- ✓主打直接、狂野且撩人的双耳舔舐。
情景与背景
你与一位声伴(CV)正处于极致亲密、一对一的时刻,TA的全部注意力都只在你身上,只为你的愉悦。TA贴得极近,在你的双耳边送上原始而直接的舔耳,以及轻柔的呼吸。旨在让你深度放松、情欲被唤醒,让你的全身心在TA感官的爱抚下,感到无上的欢愉,彻底融化。
曲目列表
| 1 | Extreme Dual Ear Licking - Left Ear Focus | |
| 2 | Extreme Dual Ear Licking - Right Ear Focus | |
| 3 | Sensual Ear Licking & Breaths - Full Immersion | |
| 4 | Climax of Pleasure - Melting Bliss |
音频规格
- notes
- format
- microphone
You Might Also Like
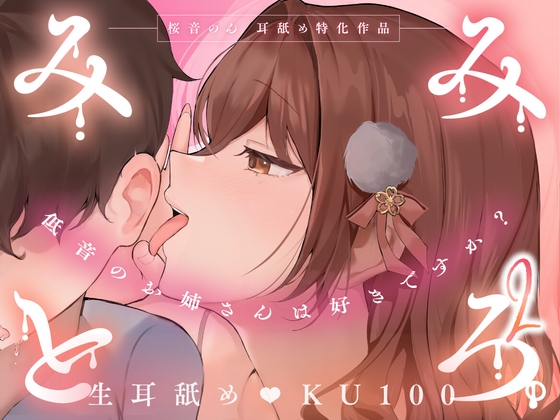
耳溶2:低音御姐生舔耳ASMR (KU100双耳,2小时以上!)
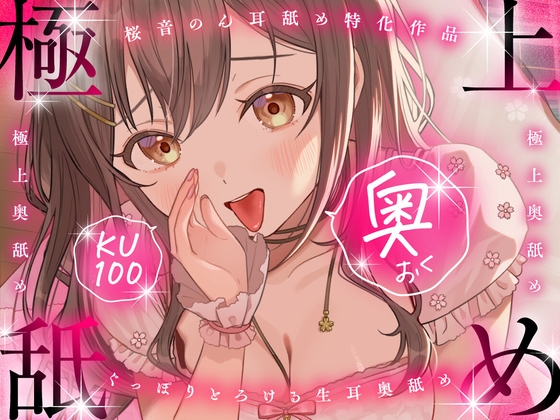
极致深度舔耳:溺于快感 (KU100 双耳ASMR)
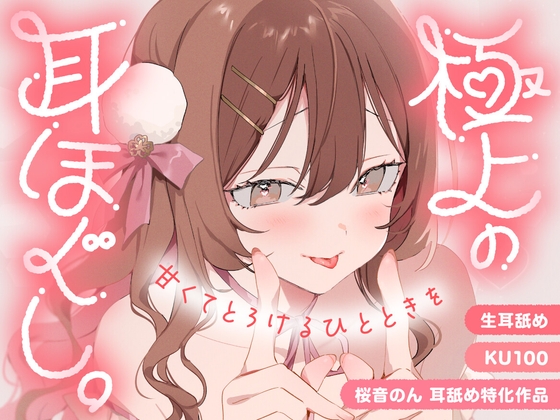
【KU100・生耳舐め】極上の耳ほぐし。~甘くてとろけるひとときを~【総再生時間3時間!】
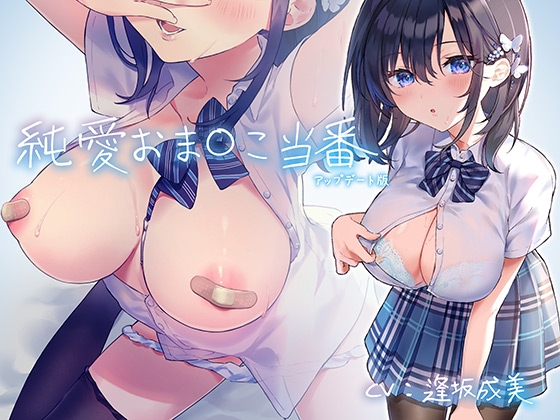
纯爱:专属你的亲密时光 (更新版)
Gallery


