Buy on DLsite — $11.00
Payment issues? See guide
Overseas buyers: buy BitCash on Play-Asia to pay on DLsite
Absolute Fdom by Twin Succubi: The Weak Masochistic Prince's Total Defeat, Feminization, and Forced Orgasm
【完全女性上位】双子サキュバスよわよわマゾオス完全敗北 メス堕ち王子ぶち犯し射精
About This Work
Brace yourself for an intense journey into ultimate female dominance! Two powerful succubi sisters unleash their full might upon a weak, masochistic prince, leading to his complete defeat and feminization. Witness a profound transformation as he is utterly conquered and forcibly brought to orgasm. This work delivers a raw and thrilling Fdom fantasy focusing on male submission and extreme power dynamics.
Why You'll Love It
- ✓Experience a no-holds-barred Fdom fantasy with twin succubi at their most dominant.
- ✓Witness the complete and utter defeat of a weak, masochistic prince.
- ✓Focuses on intense male submission and feminization, culminating in a forced orgasm.
- ✓Explore extreme power dynamics between powerful women and a completely submissive male.
Scenario & Context
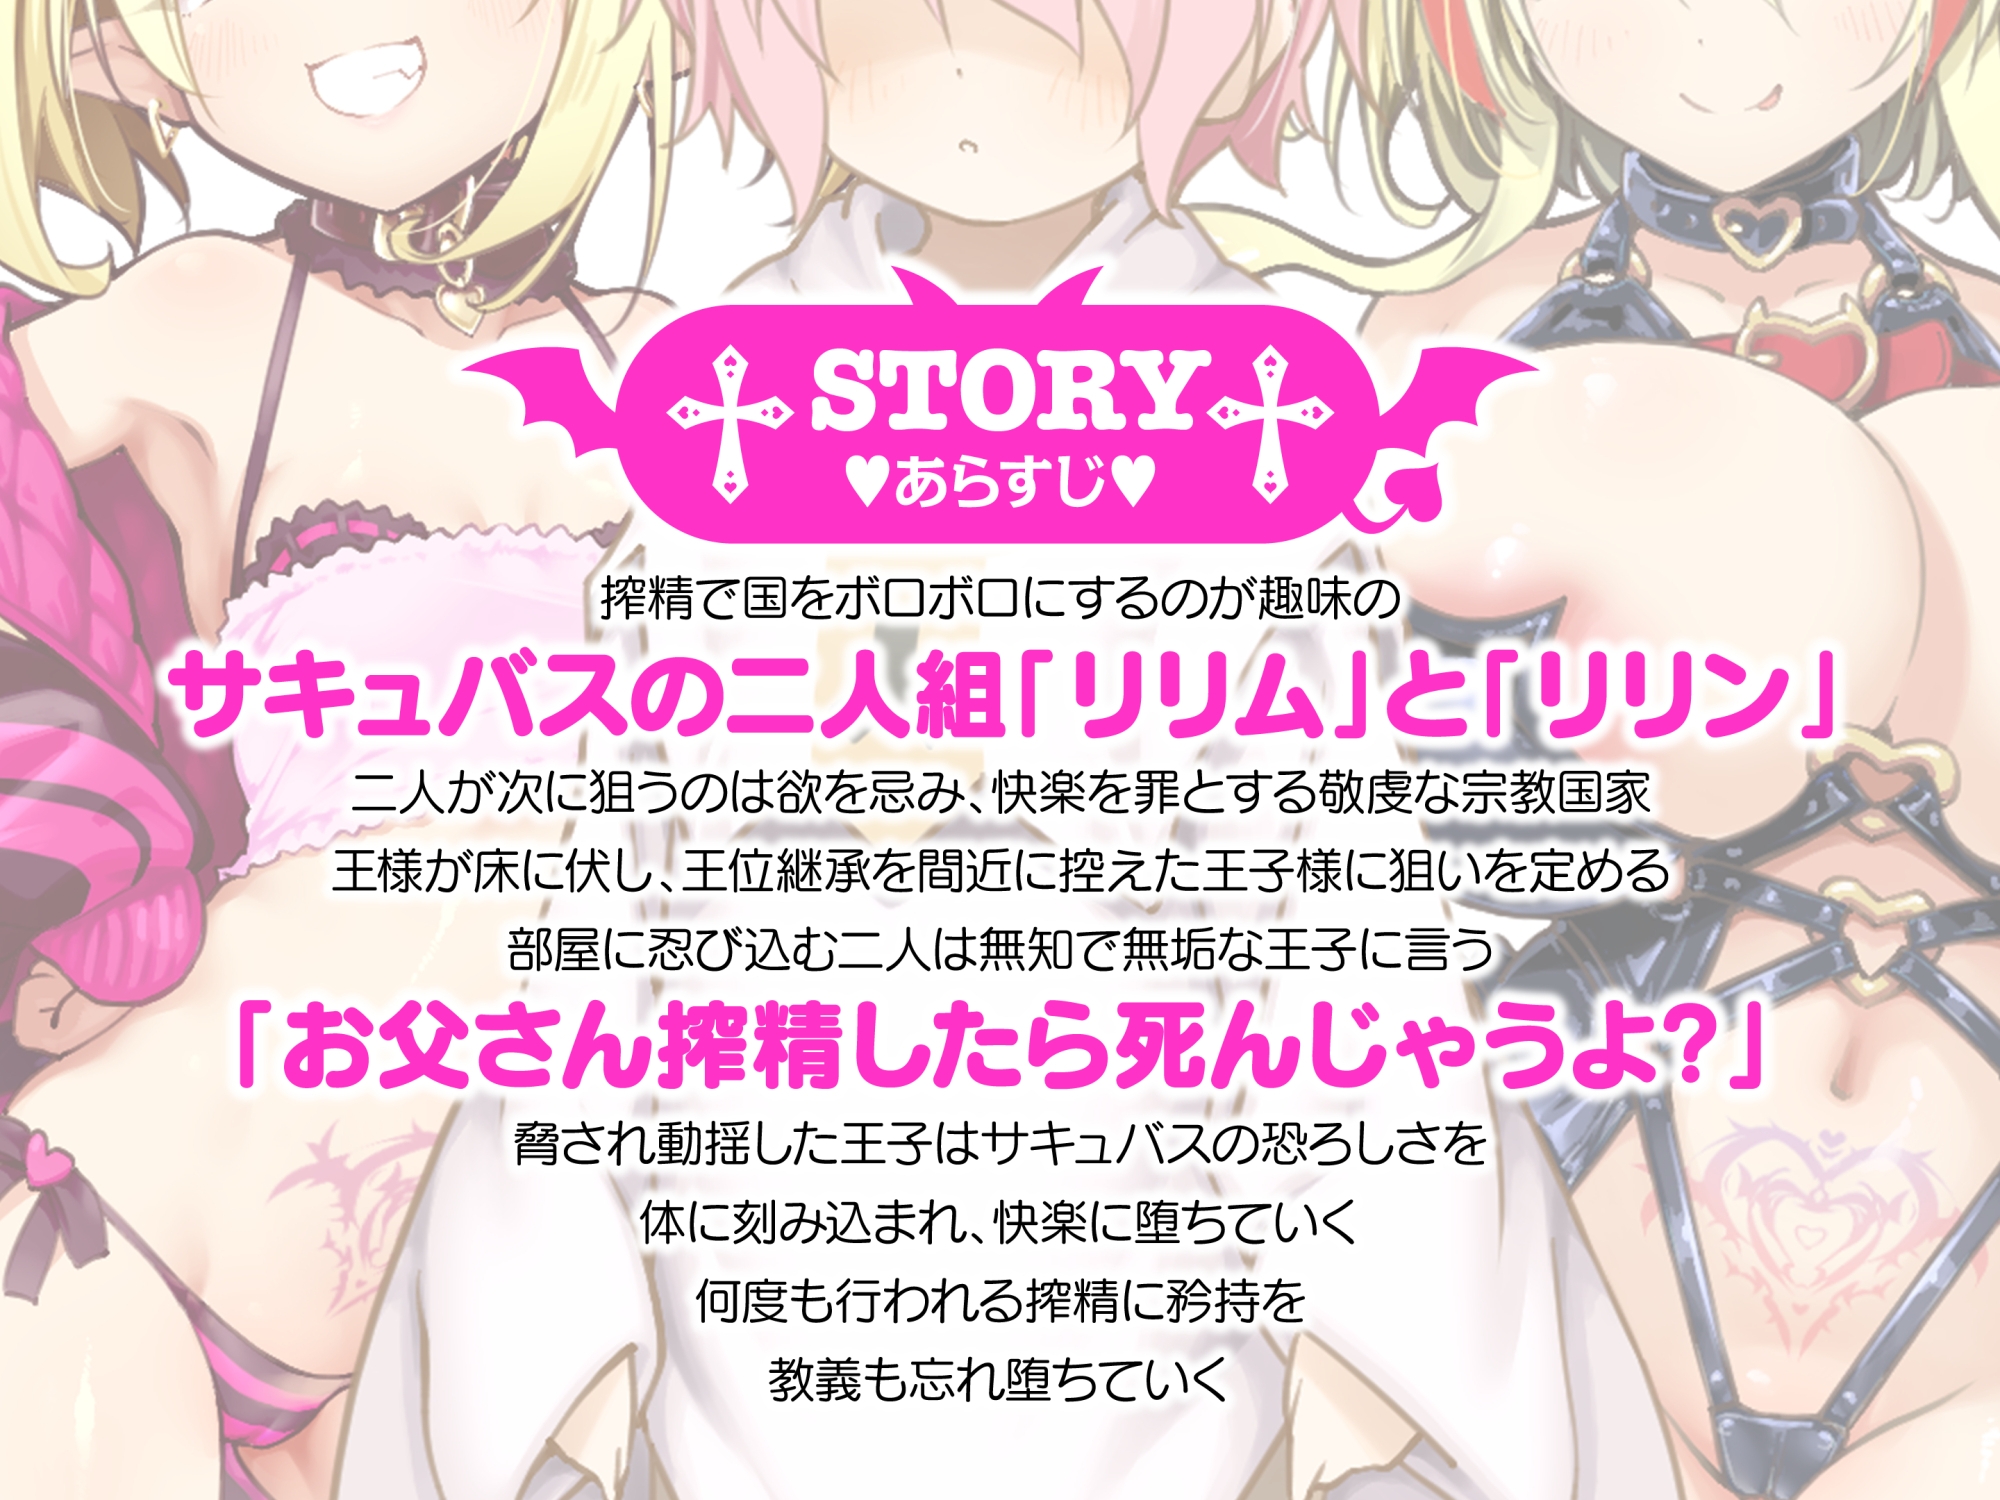
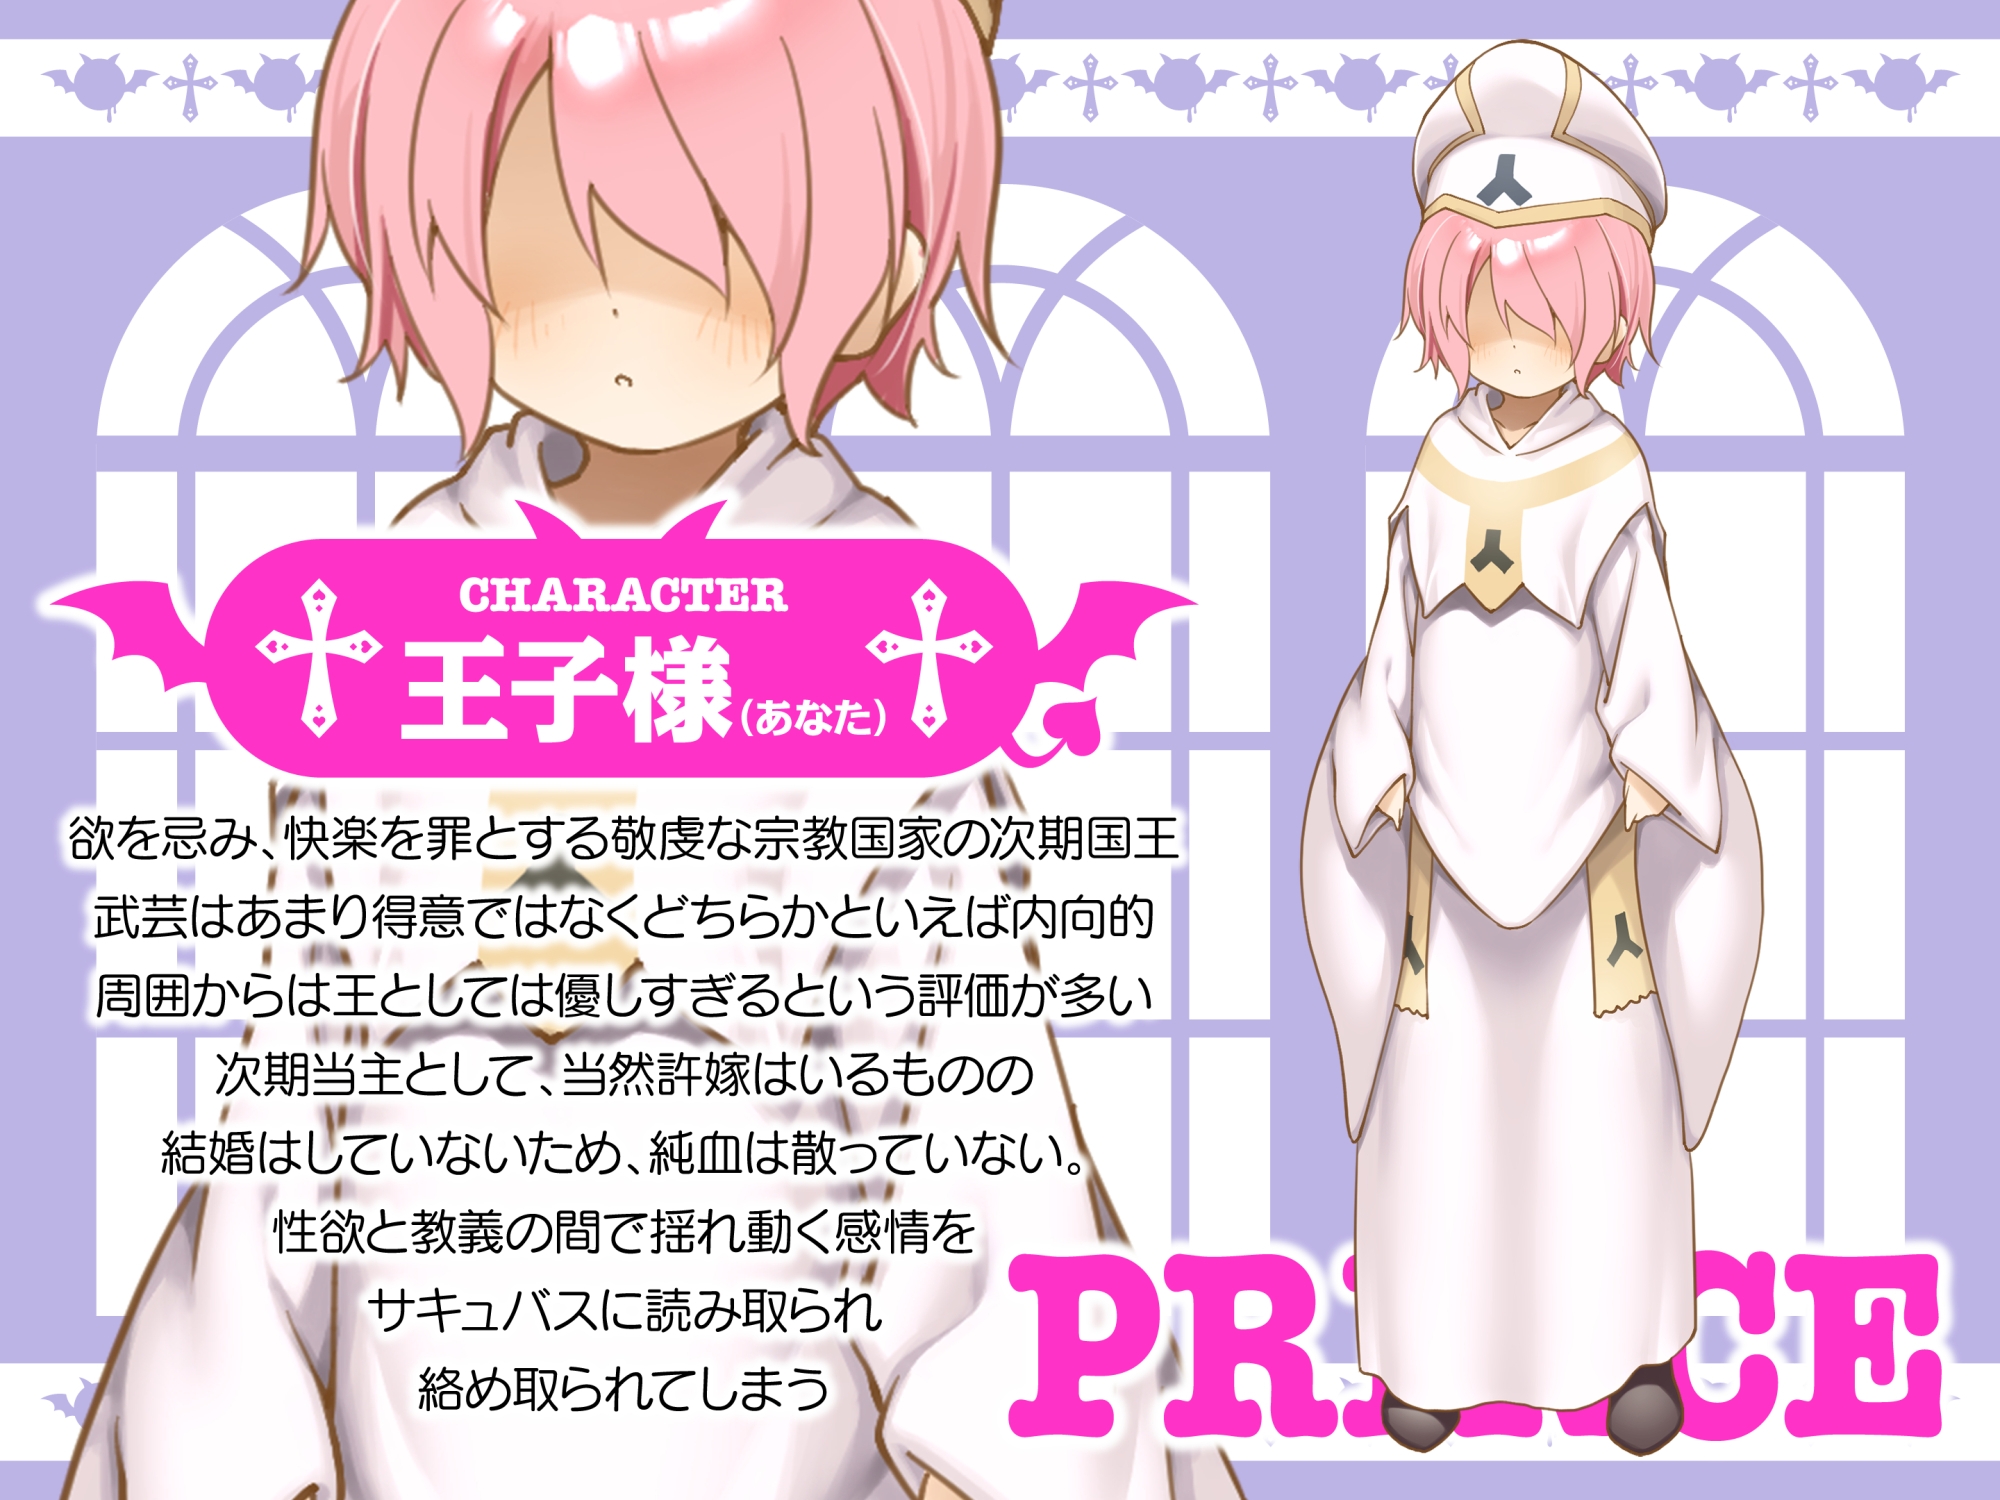
You are cast as a 'weak, masochistic prince' who falls under the complete control of two formidable twin succubi. These demonic sisters revel in asserting their absolute dominance, stripping you of your will and forcing you into utter submission. The scenario explores themes of power reversal, forced feminization, and explicit sexual acts, culminating in an inevitable, controlled climax orchestrated by your succubus mistresses.
Tracklist
| 1 | Bound by Demonic Charms | |
| 2 | The Succubi's Relentless Assault | |
| 3 | Utter Defeat and Forced Release |
Ready to listen?
$11.00 ¥1,650
Official Site • Instant Download • 100% Secure
First time on DLsite? Read our overseas buying guide (payment methods & account setup)
Buying from overseas? Grab a BitCash prepaid card on Play-Asia first — the easiest way to pay on DLsite
You Might Also Like

The Otherworldly Escort ~Our Top-Ranked Beauty Will Drain Her Master Dry~

Foley Kisses & 4P Intercourse: Disciplining the Petite Cosplayer (Part 3)

Sacred Harem of Purification: Mother & Daughter Shrine Maidens' Cleansing Covenant (2.5-Hour 1st Anniversary Special)

My Polite, Glaring Tsundere Loli Heroine: A Sweet & Steamy Isekai Cohabitation
Gallery